
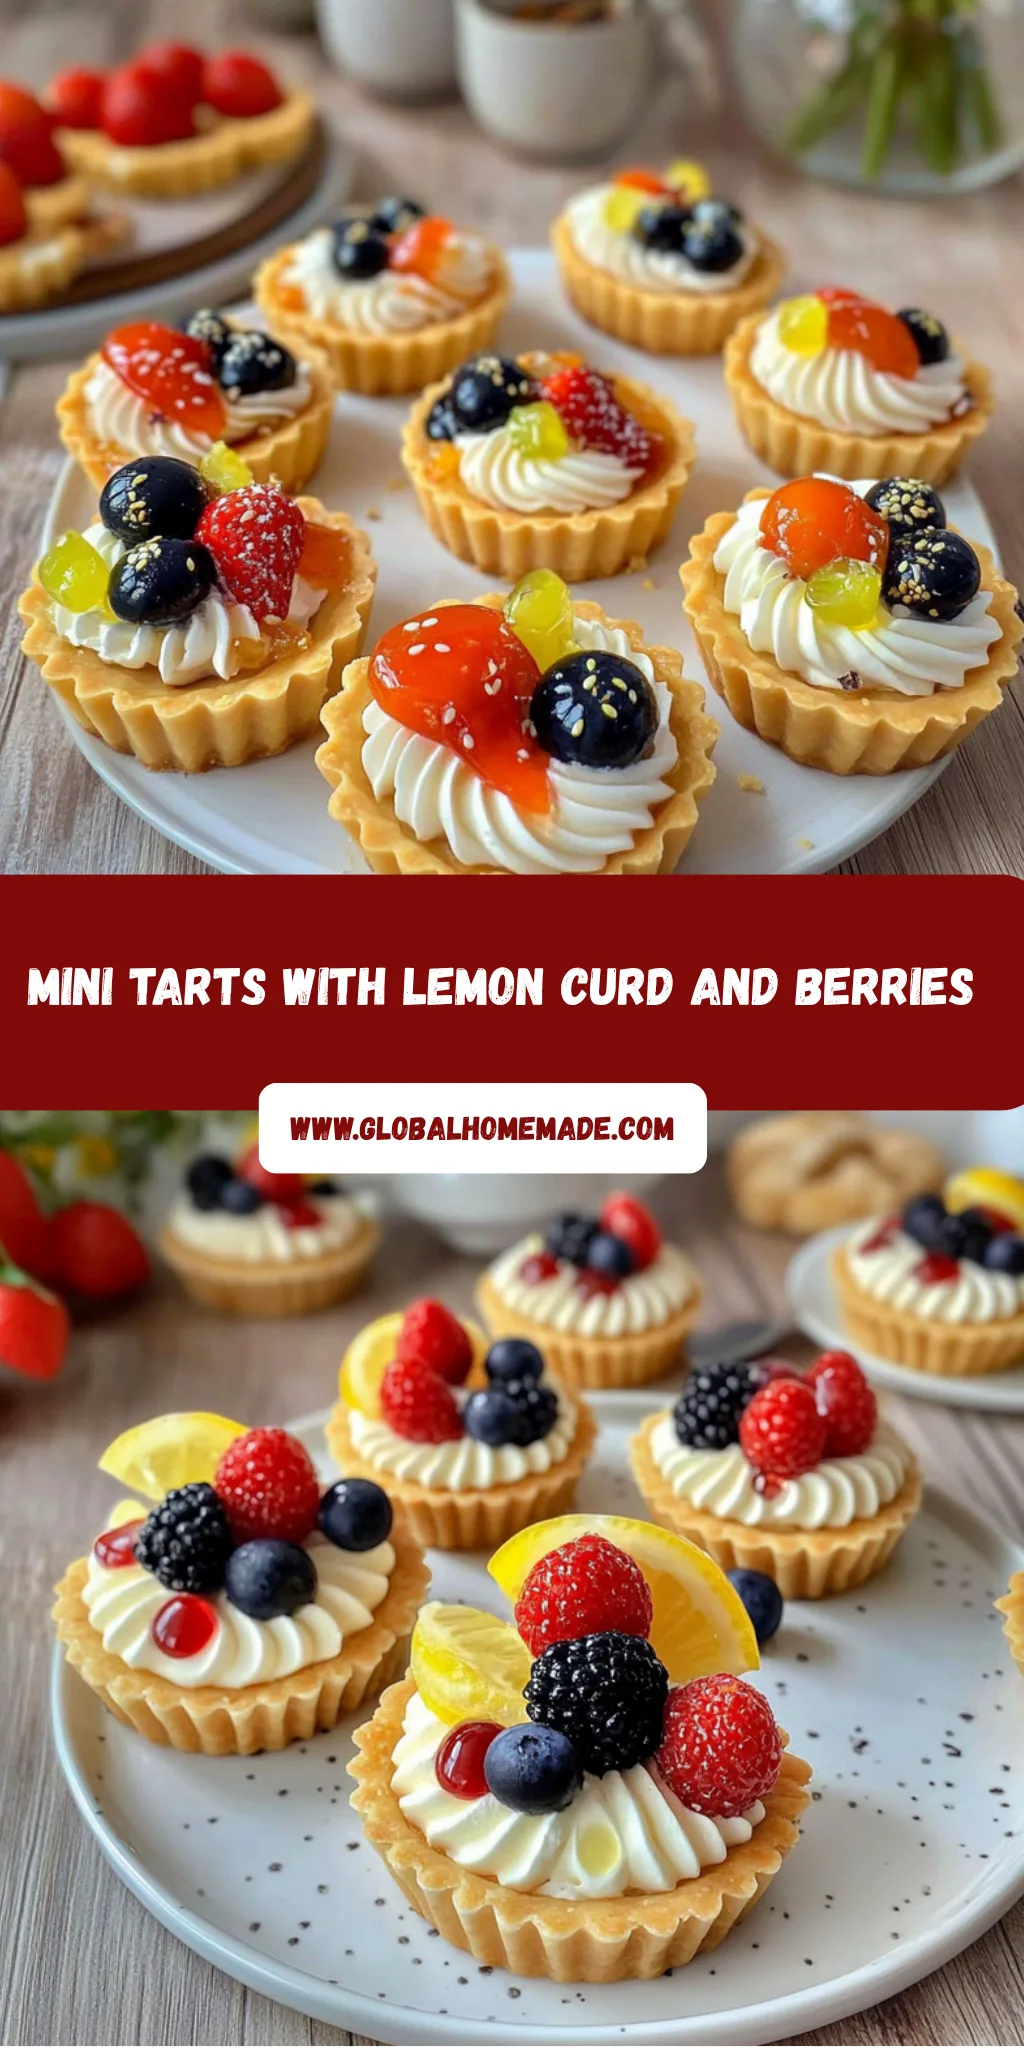
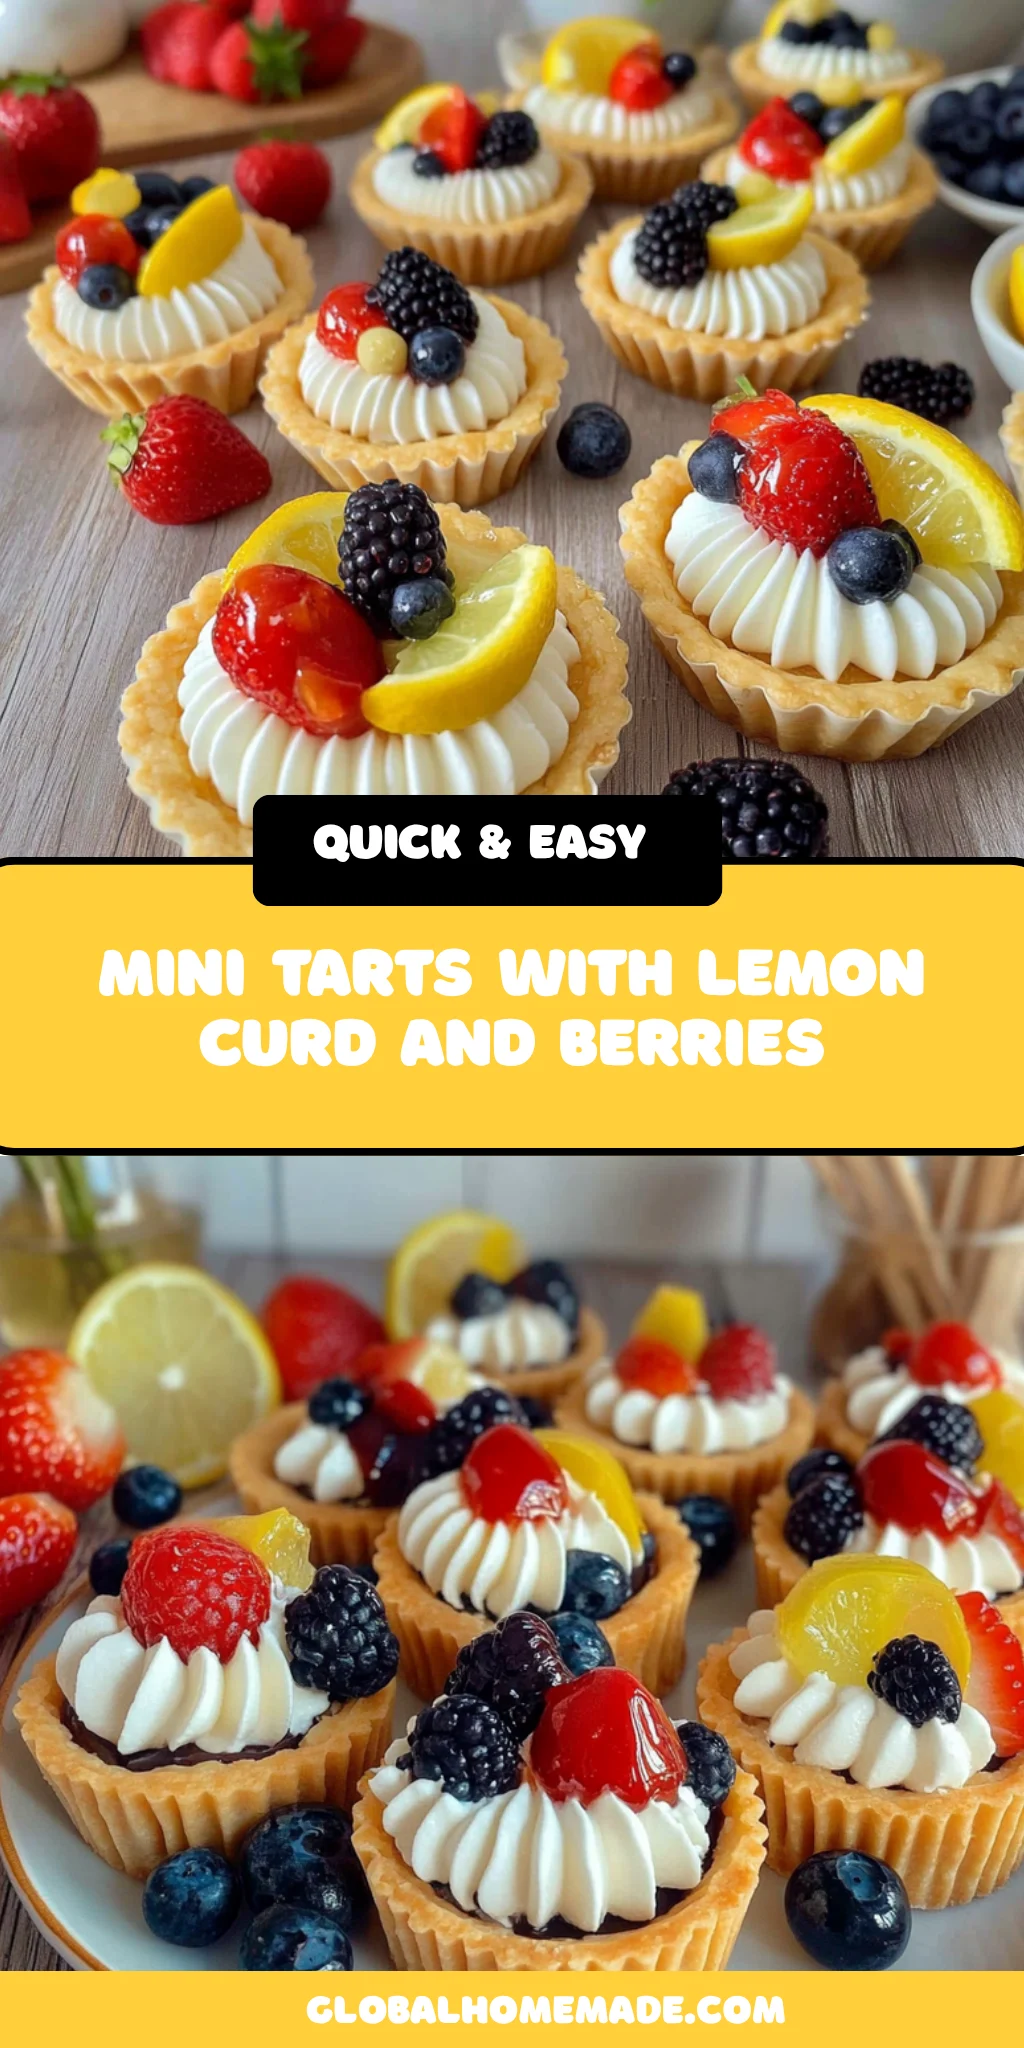
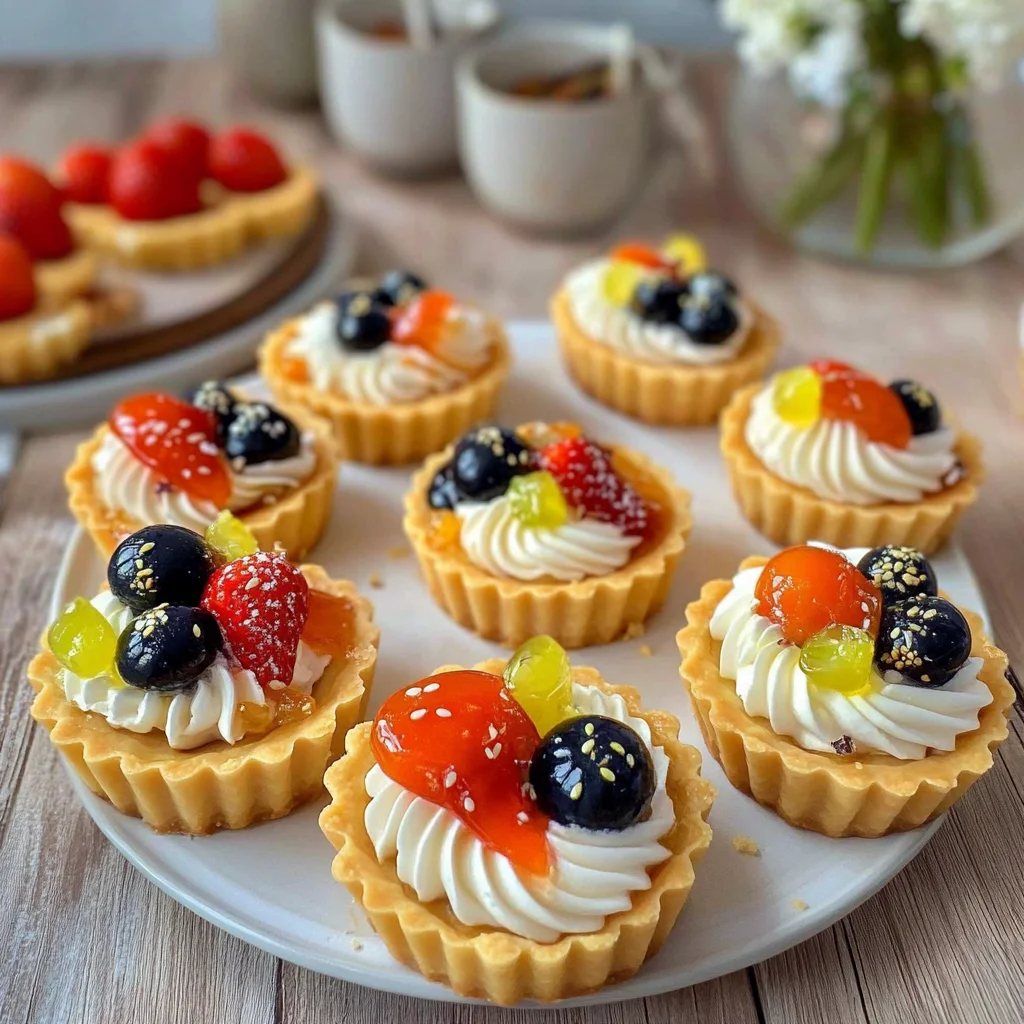
Picture a delightful array of mini tarts, each one a tiny masterpiece bursting with flavors that dance on your palate. The golden, flaky crust cradles sweet or savory fillings, wafting enticing aromas that make your mouth water and your heart skip a beat. Whether it’s a vibrant mix of fresh berries drizzled with cream or a savory blend of cheese and herbs, these mini tarts promise an explosion of taste in every bite.
I still remember the first time I attempted to make mini tarts for a family gathering; the kitchen was filled with laughter and flour as we crafted these bite-sized wonders together. Ideal for celebrations, brunches, or just because you want to treat yourself to something special, these delightful creations are sure to impress. Get ready to embark on a flavor adventure that will leave you craving more!
Why Does Everyone Love mini tarts?
Delightful in every bite, these mini tarts bring joy to any gathering with their sweet or savory options. Quick to prepare, you can whip them up in just 30 minutes! Versatile fillings allow you to customize each tart, whether you crave creamy cheesecake or fresh fruit. Crowd-pleasing, they’re perfect for parties, brunches, or a cozy night in. Elegant yet effortless, these tarts make you look like a culinary pro without the fuss!
mini tarts Ingredients
For the Pastry Crust
- 1 cup all-purpose flour – This forms the base of your mini tarts, giving them structure and a delightful crunch.
- 1/2 cup unsalted butter (cold and cubed) – Cold butter ensures a flaky texture; avoid letting it soften before mixing.
- 1/4 cup granulated sugar – Adds just the right amount of sweetness to balance your tart’s flavors.
- 1 large egg yolk – This enriches the dough, providing color and binding the ingredients together.
- 2 tablespoons cold water – Helps bring the dough together without making it sticky; keep it cold for best results.
For the Filling
- 1 cup cream cheese (softened) – Creamy and rich, this is the perfect canvas for your sweet or savory fillings in mini tarts.
- 1/2 cup powdered sugar – Adds sweetness and helps create a smooth, dessert-like filling that complements any fruit.
- 1 teaspoon vanilla extract – A splash of this elevates the flavor profile, enhancing the sweetness of your filling.
- 1 cup fresh fruit (e.g., berries, sliced kiwi) – Fresh fruit not only adds vibrant color but also a burst of natural sweetness to your mini tarts.
How to Make mini tarts
1. Preheat the oven to 350°F (175°C). This initial step ensures your pastry crust bakes evenly and achieves that delightful golden color.
2. Combine flour, cold cubed butter, and granulated sugar in a mixing bowl. Use your hands or a pastry cutter to mix until crumbly, resembling wet sand.
3. Add the egg yolk and cold water to the mixture, stirring gently until a cohesive dough forms. It should be soft but not sticky, perfect for rolling out!
4. Roll out the dough on a floured surface to about 1/8-inch thick. Cut into circles that will fit snugly in your muffin tin—this will be the crust for your mini tarts.
5. Press the dough circles firmly into the muffin tin, ensuring they cover the sides well. Prick the bottoms with a fork to prevent bubbling during baking.
6. Bake for 15 minutes or until lightly golden around the edges. Once done, let them cool in the tin before transferring them to a wire rack.
For the Filling:
7. Mix cream cheese, powdered sugar, and vanilla extract in a bowl until smooth and creamy. The filling should be free of lumps and ready to spread.
8. Fill each cooled tart shell generously with the cream cheese mixture, creating a beautiful base for your toppings.
9. Top each filled tart with fresh fruit of your choice—berries or sliced kiwi make vibrant additions that pop with color!
10. Chill in the refrigerator for at least 30 minutes before serving. This allows flavors to meld beautifully while setting up nicely.
Optional: Garnish with mint leaves for an extra touch of freshness!
Exact quantities are listed in the recipe card below.
Tips for the Best mini tarts
- Chill Your Butter: Make sure your butter is cold and cubed for a flaky crust; it helps create that perfect texture.
- Don’t Overmix: Mix the dough just until it forms. Overmixing can lead to tough pastry, which isn’t ideal for delicate mini tarts.
- Prick the Shells: Don’t forget to prick the bottoms of the tart shells before baking. This prevents them from puffing up during baking.
- Cooling Time: Allow your tart shells to cool completely before filling. Warm shells can cause the filling to melt and lose its shape.
- Fresh Fruit Selection: Choose ripe and fresh fruit for topping; avoid overly soft fruits that may become mushy on your delightful mini tarts.
How to Store and Freeze mini tarts
- Room Temperature: Keep mini tarts at room temperature for up to 2 hours if serving immediately; cover lightly with a clean cloth to avoid drying out.
- Fridge: Store leftover mini tarts in an airtight container in the fridge for up to 3 days. This will keep the filling fresh, especially if it contains cream cheese.
- Freezer: For longer storage, freeze unfilled pastry shells for up to 1 month. Wrap them tightly in plastic wrap and then in aluminum foil for best results.
- Reheating: To enjoy your mini tarts warm, preheat the oven to 350°F (175°C) and bake for about 10 minutes. This helps restore their flaky texture.
mini tarts Your Way
Feel free to let your creativity bloom by customizing these delightful treats with various flavors and textures.
- Gluten-Free: Substitute all-purpose flour with a 1:1 gluten-free flour blend for a deliciously inclusive option. This twist retains the mini tarts’ flaky texture while catering to gluten sensitivities, making them perfect for everyone at the gathering.
- Nutty Crust: Replace half of the all-purpose flour with almond flour for a rich, nutty flavor. This variation adds depth to the crust, enhancing the overall taste experience while still providing that beloved buttery bite.
- Chocolate Lovers: Mix in 2 tablespoons of cocoa powder into the flour for a chocolatey pastry base. The delightful cocoa adds a sweet bitterness that pairs beautifully with both sweet and savory fillings, turning each bite into pure indulgence.
- Herbed Delight: Incorporate 1 tablespoon of finely chopped fresh herbs like basil or thyme into the crust. This savory twist elevates your tarts, adding an aromatic touch that complements cheese or veggie fillings wonderfully.
- Honey Sweetened: Swap out granulated sugar for honey to naturally sweeten your pastry crust. Not only does this add a subtle floral note, but it also creates a slightly softer texture that melts in your mouth.
- Spicy Kick: Add a pinch of cayenne pepper or smoked paprika to the crust for an unexpected heat. This kick enhances savory fillings and offers an exciting contrast when paired with creamy or fruity toppings.
- Lemon Zest: Incorporate 1 teaspoon of lemon zest into the dough for a refreshing citrus note. This brightens up the flavor profile, making each tart feel light and vibrant, perfect for springtime gatherings.
Make Ahead Options
These delightful mini tarts are perfect for meal prep, allowing you to enjoy their deliciousness at your convenience. You can prepare the pastry crust up to 24 hours in advance; simply combine 1 cup all-purpose flour, 1/2 cup cold cubed unsalted butter, and 1/4 cup granulated sugar until crumbly. Then add 1 large egg yolk and 2 tablespoons cold water, mixing until a dough forms. Roll out the dough, cut into circles, press into a muffin tin, prick the bottoms with a fork, and bake at 350°F (175°C) for about 15 minutes until golden. Once cooled, store them in an airtight container. The cream cheese filling can also be made ahead by mixing together 1 cup softened cream cheese, 1/2 cup powdered sugar, and 1 teaspoon vanilla extract; this can be done up to 3 days in advance. When you’re ready to serve your mini tarts, simply fill each shell with the cream cheese mixture and top with fresh fruit like berries or sliced kiwi. Chill them in the fridge for at least 30 minutes before enjoying these versatile treats!
mini tarts Questions Answered
What type of flour is best for the pastry crust?
All-purpose flour works perfectly for this mini tarts recipe, providing a great balance of structure and tenderness. If you’re looking for a gluten-free option, consider using a gluten-free all-purpose blend, but ensure it’s one that includes xanthan gum for the best texture.
Can I use margarine instead of butter in the pastry crust?
While unsalted butter is recommended for its flavor and texture, you can substitute margarine if necessary. Just make sure it’s cold and cubed to achieve that flaky crust. The overall taste may vary slightly, but it will still be delicious!
How should I store the mini tarts after making them?
These delightful mini tarts can be stored in an airtight container in the refrigerator for up to 3 days. If you prepare the tart shells ahead of time, store them separately from the filling to ensure they stay crisp.
Can I freeze mini tarts for later enjoyment?
Yes! You can freeze the baked tart shells without the filling. Just place them in a freezer-safe container or bag and they will keep well for up to 2 months. When you’re ready to enjoy, thaw them in the fridge overnight and fill with your cream cheese mixture and fresh fruit before serving.
What are some alternative fillings I can use?
Feel free to get creative with your fillings! You could use flavored yogurt, lemon curd, or even whipped cream with chocolate shavings. For savory options, try a mixture of goat cheese and herbs or a savory custard base filled with vegetables—there’s no limit to what you can create!
What’s the serving size for this mini tarts recipe?
This recipe yields 4 delicious mini tarts, making it perfect for a small gathering or as a sweet treat for your family. Each tart contains approximately 180 calories, so they’re indulgent yet manageable when enjoying dessert!
Mini Tarts
Ingredients
Method
- Preheat the oven to 350°F (175°C).
- In a mixing bowl, combine flour, butter, and sugar. Mix until crumbly.
- Add egg yolk and cold water, mixing until a dough forms.
- Roll out the dough on a floured surface and cut into circles to fit the muffin tin.
- Press the dough circles into the muffin tin and prick the bottoms with a fork.
- Bake for 15 minutes or until lightly golden. Let cool.
- In a bowl, mix cream cheese, powdered sugar, and vanilla extract until smooth.
- Fill each cooled tart shell with the cream cheese mixture.
- Top with fresh fruit as desired.
- Chill in the refrigerator for at least 30 minutes before serving.